 Jeff
Jackson
Jeff
Jackson
My Home on the Web
| My Interests |
| Atari |
| Family Tree |
| Fonts |
| Gardening |
| Religion |
| Rock Climbing |
| Skating |
| Snow Boarding |
| Video Editing |
| Welcome |
| Quick Links |
| Blogs |
| Flickr Photos |
| Gmail |
| Logos |
| News Paper |
| OliveTree/Beta |
| Searching |
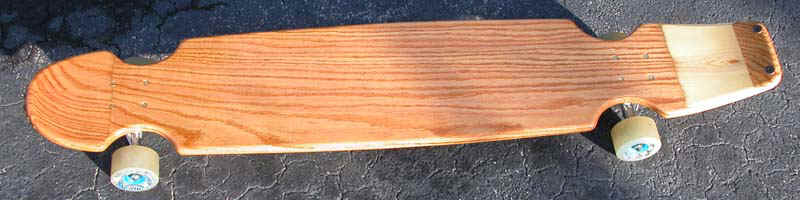
| Building a Long Board |
I started off by building a template out of thin plywood. This was easier to work and perfect the shape on.
|
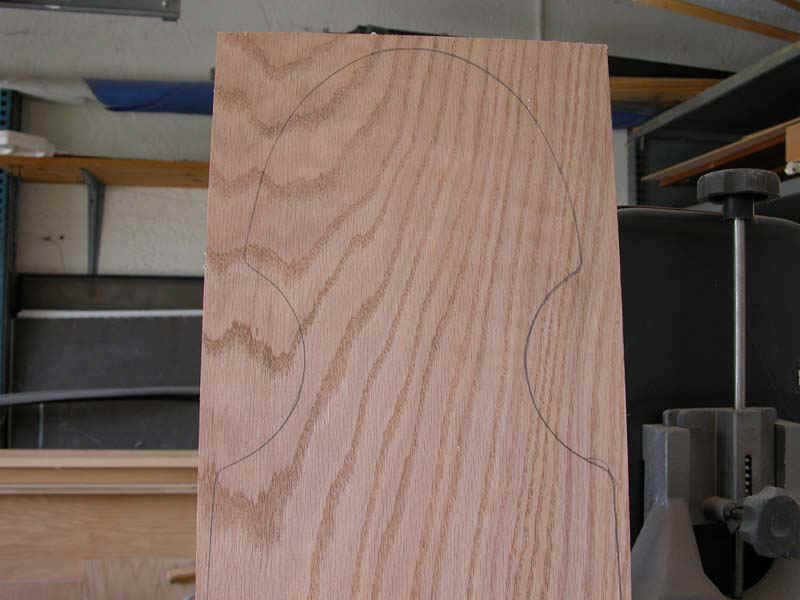
| Here's a closeup of the template with some of the layout lines visible.
|
| The template was traced onto the wood stock.
|
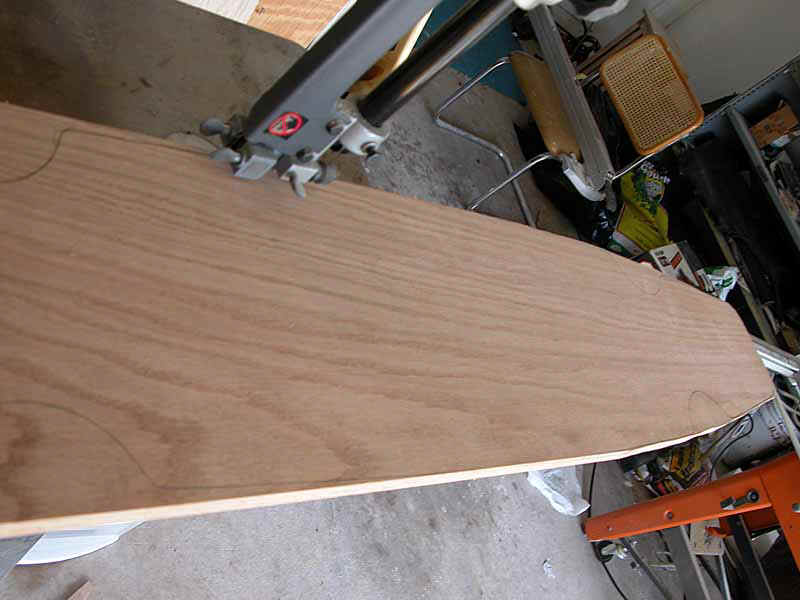
| On the bandsaw, the outline is rough cut, staying about 1/8" outside
the lines.
|
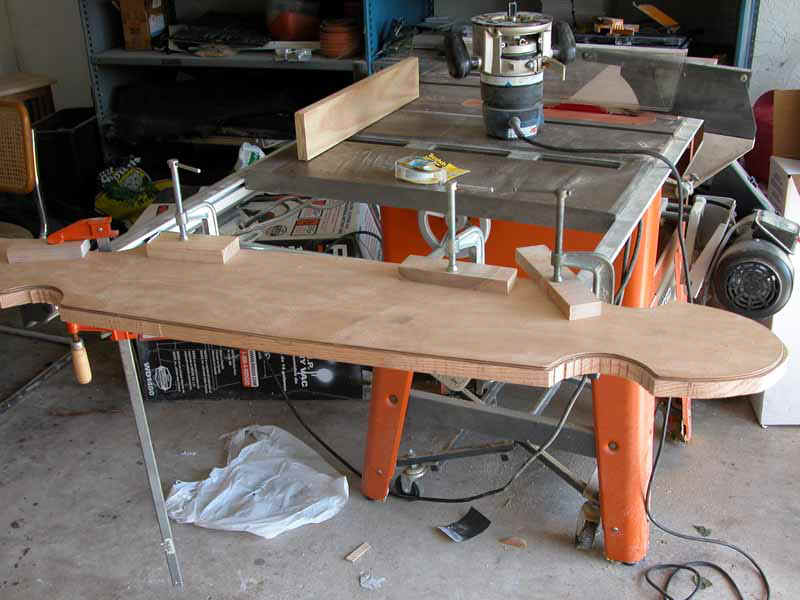
| Doublesided tape and clamps were then used to attach the template to the
board. The board overhung the template at all points.
|
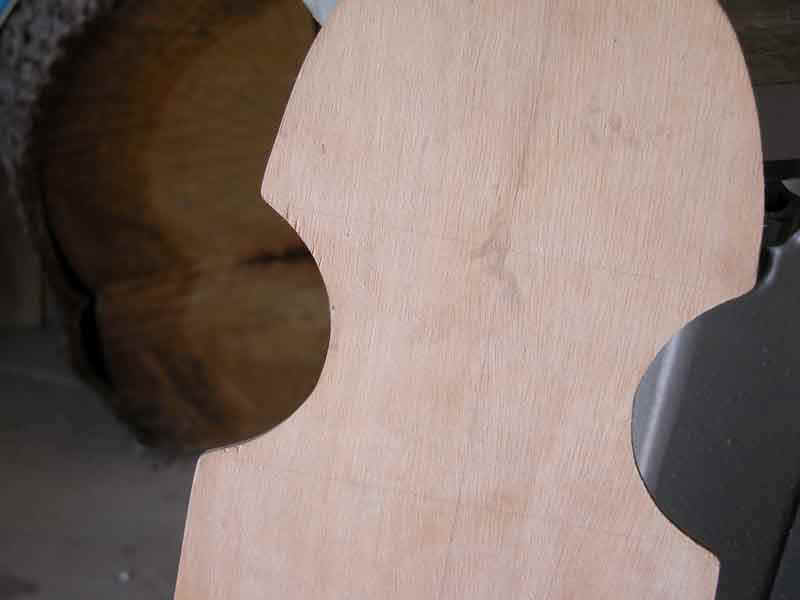
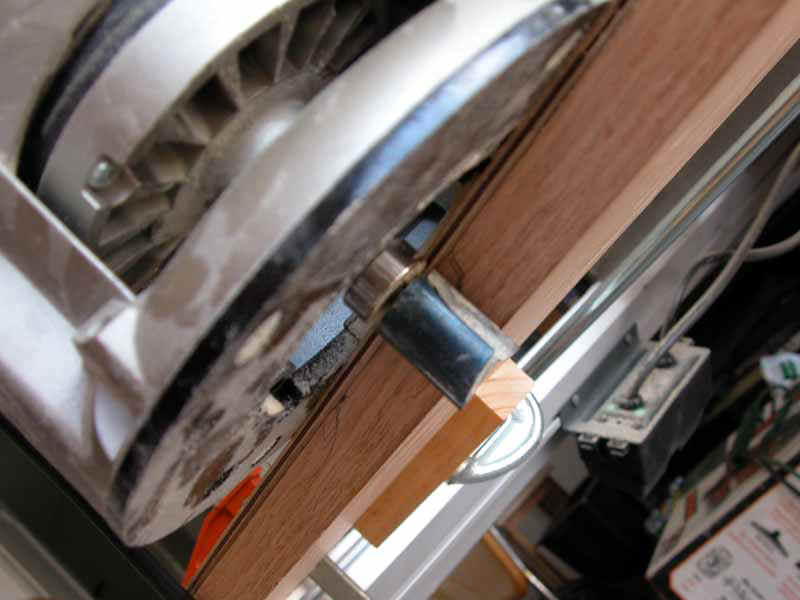
| A router was then used to machine the board to exactly match the template.
|
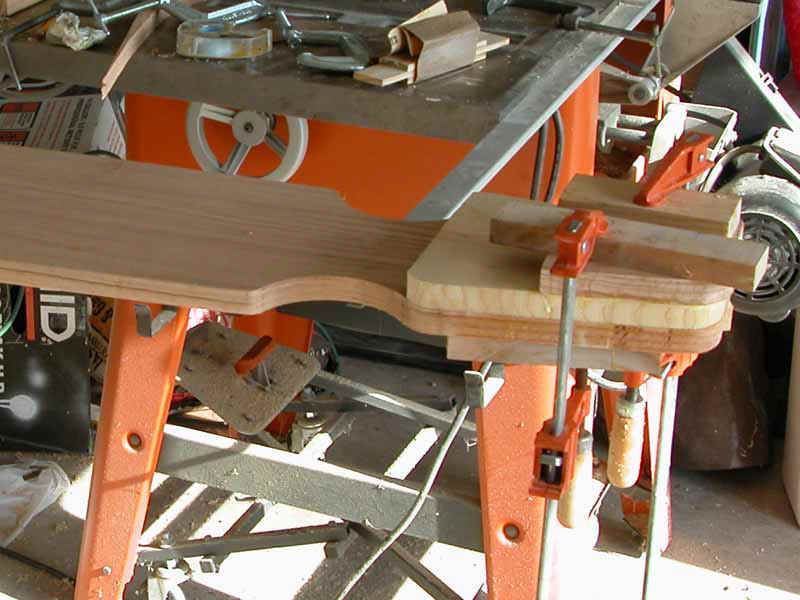
| To do the curved front and back, a wood sandwitch was glued up. The
routier was used again to shape the edges.
|
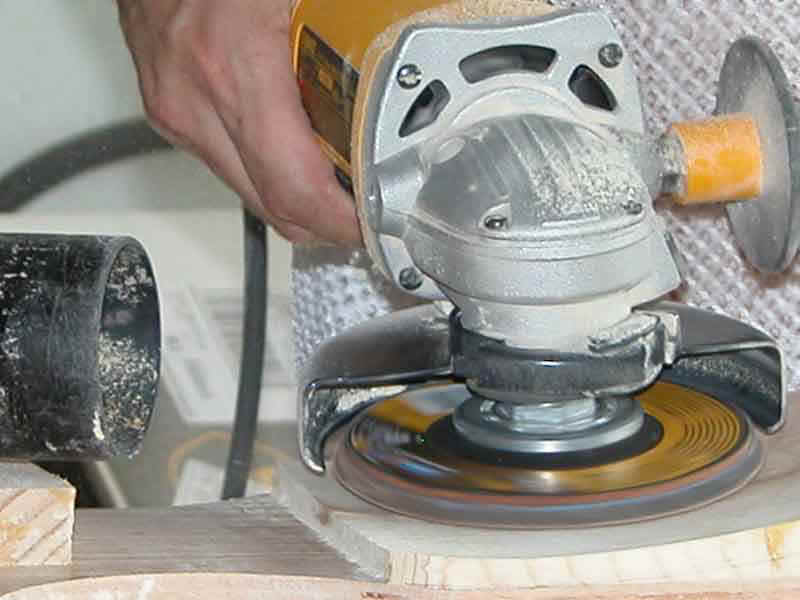
| A grinder was used to sculpt the curved ends. I kept the grander
perpendicular to the grain so the grinding was always along the grain, and I kept it
tipped up about 10-15 degrees. Once I got near your layout line, I made a point of
always pulling the grinder towards myself. Pushing can easily dig in deeply into the
wood. Also I switched from a 40 grit disk to 80 grit to get a smother surface and
slow down the speed of wood removal. It took some practice to make fairly smoth
curves. I made a prototype board out of cheap pine to learn the technique on. I used a template for the back, but eyeballed the curve for the front. Once the convex curve was done and sanded smooth, I used a compass set at 3/4" to trace the convex edge to draw the line for the concave side. I did it in this order because the concave side is easier to do. I found that if too curved, I wound up fighting the curve of the grinding disk.
|
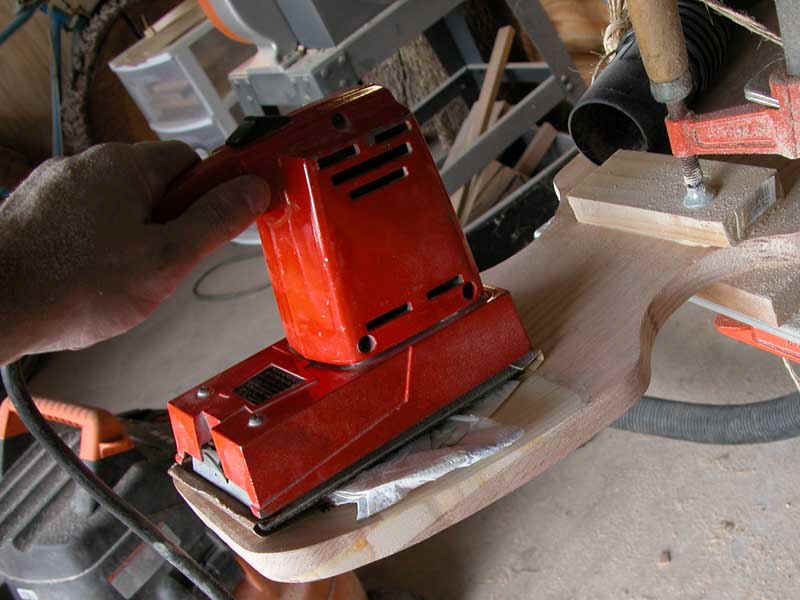
| To sand the concave side, I stuffed some paper towels behind the sand paper
so it followed the curve better.
|
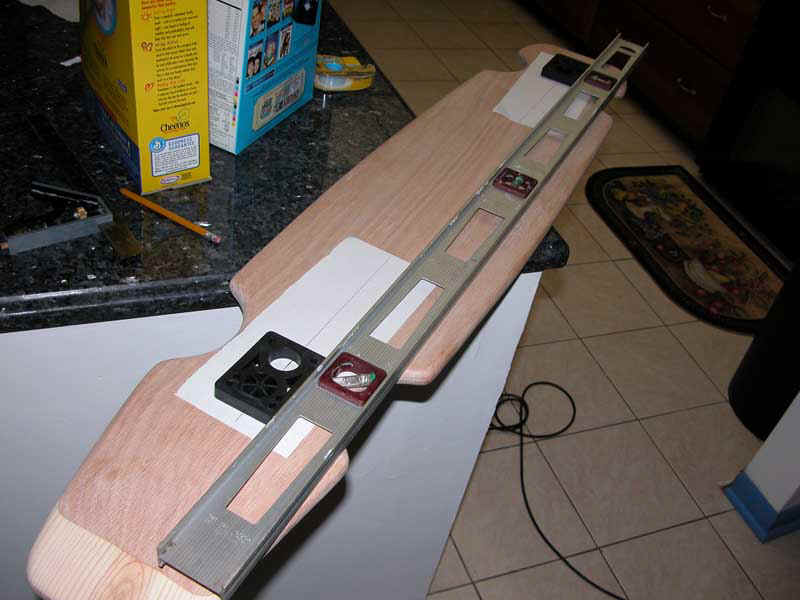
| I used some risers as a template for drilling the holes. I taped some
paper on the board so I could draw a center line without having to erase/sand it away
later. I used a straight edge to keep the two risers lined up perfectly, and double
side taped them down. I only started the holes with the risers in place. When
I tried to drill all the way through, I would inevitably bump them. Also started the
holes from the bottom side in case I was less than perpendicular with the drill bit, so at
least the point where the screw meets the truck would be lined up. I used a old
hand-crank drill so I could stop just as I was breaking through the top side. I then
completed the holes from the top side to avoid tearout. i also beveled the
sides of the holes with a counter-sink bit so the screws would be able to sit flat.
|
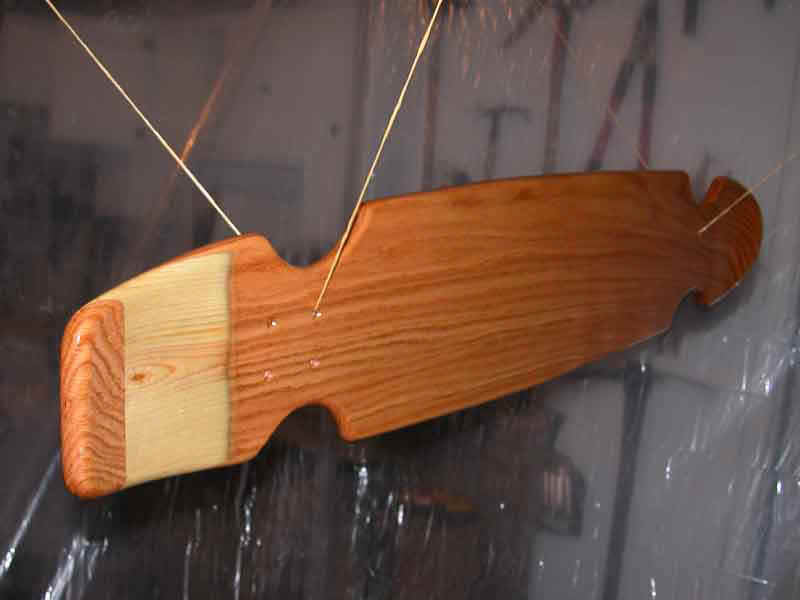
| I hung it from the ceiling while I applie 5 coats of Tung Oil and about 15
of Polyurethane (I lost count)
|
|